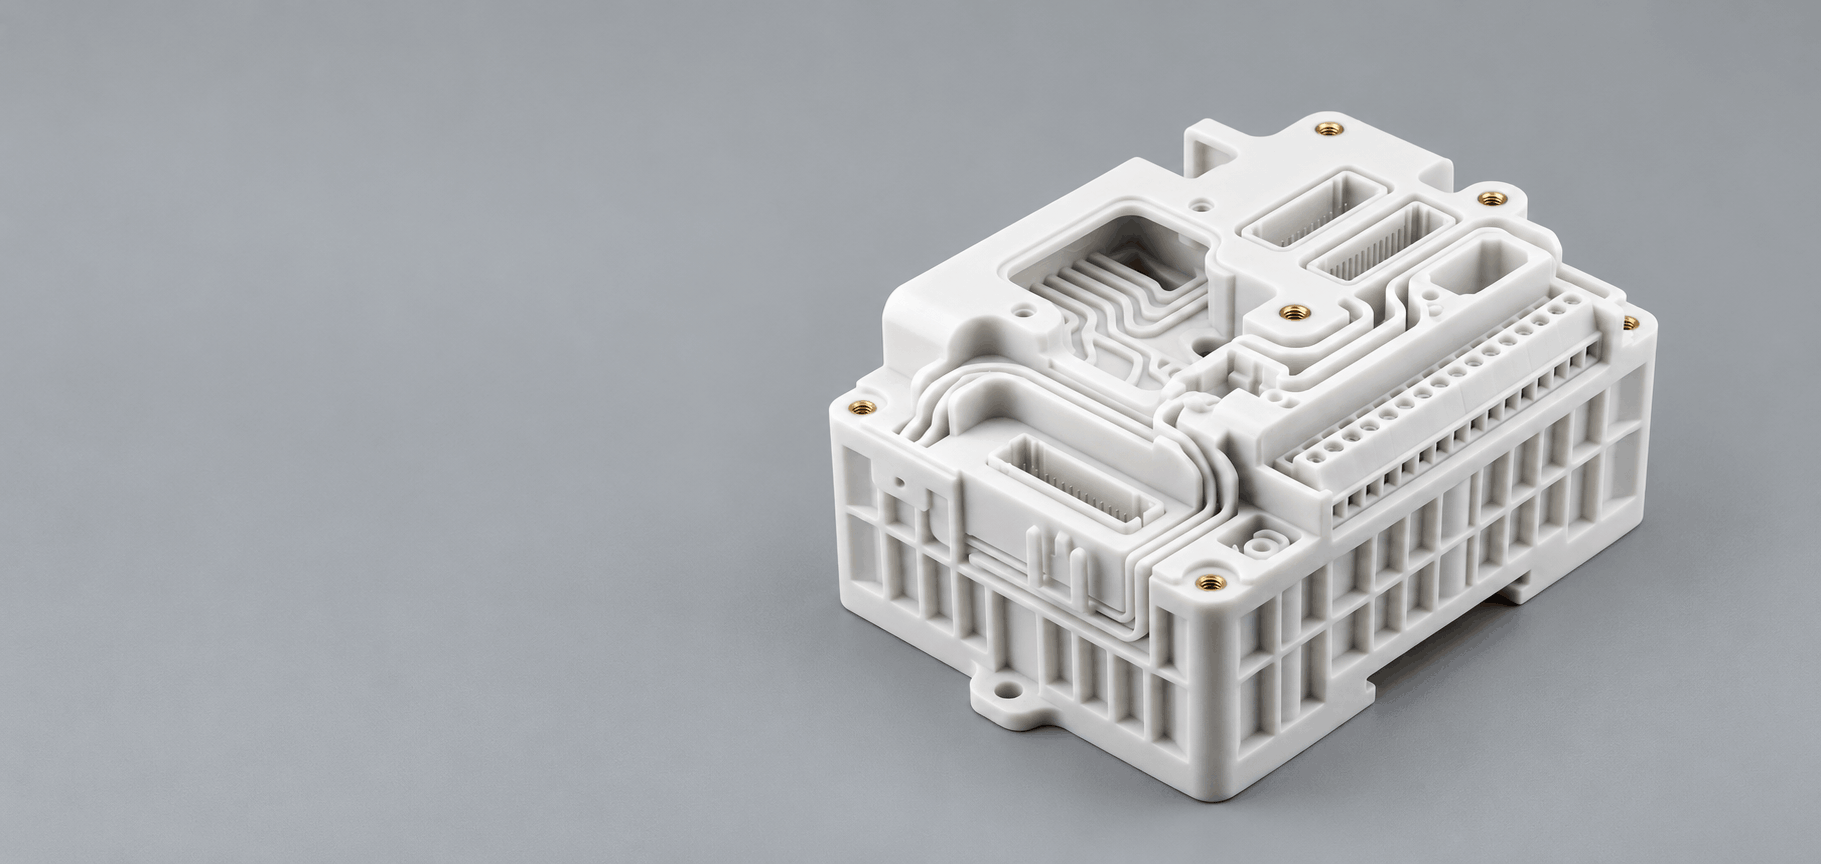
What Is FDM 3D Printing and How Does It Work?
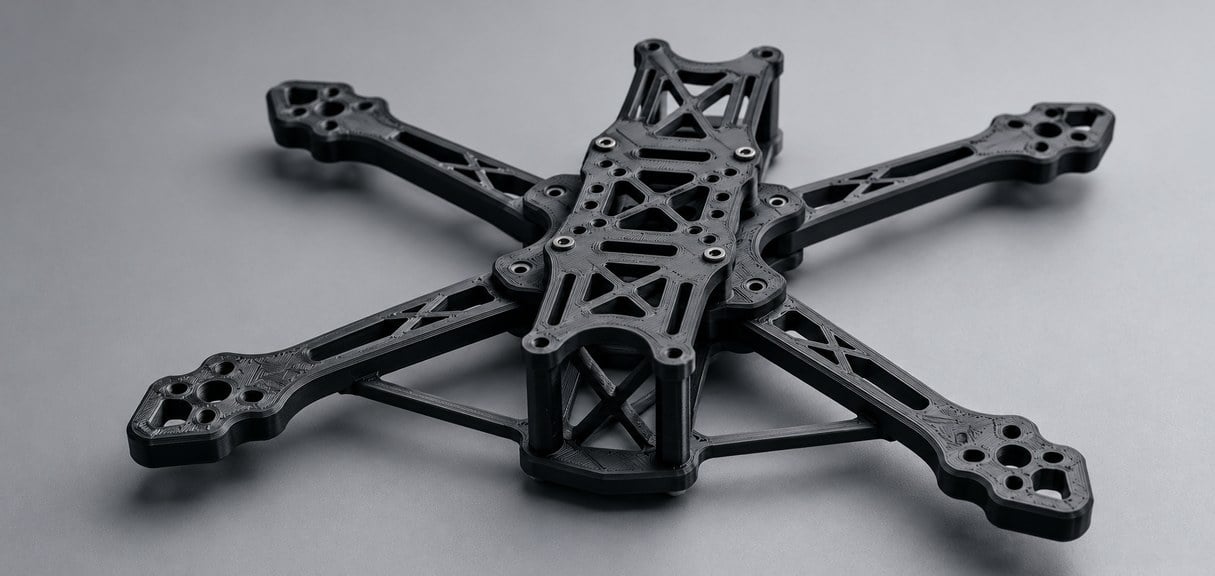
Listen to Content
Fused deposition modeling is one of the most widely used 3D printing methods, and often the first choice for engineers, designers, and product teams who need a part quickly. Whether you're building a functional prototype or a small production run, understanding how FDM works helps you design better parts and pick the right material. This guide covers the process step by step, common materials, real-world uses, and how FDM compares with resin printing. If you'd rather skip ahead, explore Champ3D's FDM 3D printing service.
What Is FDM (Fused Deposition Modeling)?
FDM 3D printing, short for fused deposition modeling, is an additive manufacturing process that builds parts layer by layer. A heated nozzle melts a thermoplastic filament and deposits it along a programmed path, where it cools and fuses to the layer below, gradually forming a solid three-dimensional object.
Developed in the late 1980s, FDM technology is now found everywhere from hobbyist desktops to industrial production floors. Its appeal is simple: affordable machines, a wide range of engineering plastics, and fast turnaround.
What Does FDM Stand For in 3D Printing?
FDM stands for fused deposition modeling. The FDM meaning follows the process itself: plastic is "fused" as it melts and bonds, "deposited" through a nozzle, and used for "modeling" a physical part from a digital design. The name is a Stratasys trademark, so you'll also see the same process called FFF (fused filament fabrication).
How Does FDM 3D Printing Work? (Step-by-Step)
The FDM 3D printing process has four stages: the 3D model is sliced into layers, filament is loaded and fed into a heated nozzle, the printer extrudes melted plastic layer by layer onto a build plate, and the finished part cools before any support material is removed.
Here is how fused deposition modeling works in practice.
Step 1 — Preparing the 3D Model and File
Every print starts as a CAD model, exported as an STL or 3MF file. Slicing software divides it into thin horizontal layers, typically 0.1–0.3 mm each, and generates the toolpath. This is also where you set layer height, infill density, wall thickness, and any supports needed for overhangs.
Step 2 — Loading Filament and Heating the Nozzle
A spool of thermoplastic filament, most commonly 1.75 mm in diameter, is pulled through an extruder into the hot end. The nozzle heats to the material's melting range, roughly 190–220°C for PLA and 230–260°C for ABS, while the heated build plate helps the first layer stick.
Step 3 — Layer-by-Layer Extrusion
The nozzle traces each layer's outline and infill, laying down a thin bead of molten plastic. When a layer is finished, the build plate lowers (or the print head rises) by one layer height, and the next layer bonds to the one beneath it. Print time depends on part size, layer height, and infill.
Step 4 — Cooling and Support Removal
After printing, the part cools and comes off the build plate. Support structures are snapped, cut, or dissolved away, and the surface can be sanded or smoothed for a cleaner finish.
Common FDM Materials
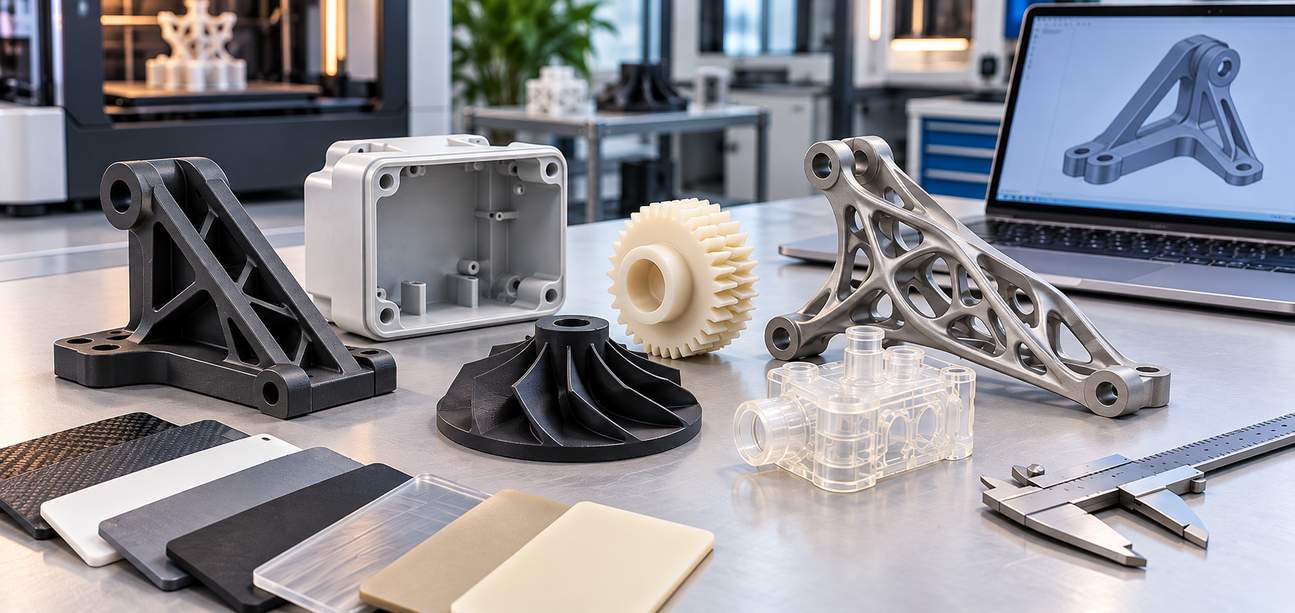
Filament choice determines strength, heat resistance, flexibility, and appearance. The most common FDM filament and FDM material options are:
-
PLA: Easy to print with good detail and low heat resistance. Best for visual models.
-
ABS: Tough and heat resistant, but prone to warping. Suited to functional parts.
-
PETG: Strong and chemical resistant, with a good balance of printability and durability.
-
ASA: Similar to ABS with better UV resistance, making it a fit for outdoor use.
-
Nylon: Wear and fatigue resistant. Used for gears, hinges, and moving parts.
-
TPU: Flexible and rubber-like. Used for gaskets, seals, and grips.
What Is FDM 3D Printing Used For?
FDM covers a wide range of applications across industries:
-
Functional prototypes: Test fit, form, and function before investing in tooling.
-
Jigs and fixtures: Custom manufacturing aids made in hours instead of weeks.
-
Enclosures: Housings for electronics and consumer products.
-
Low-volume production parts: Small batches and end-use components without tooling costs.
FDM vs. SLA: What's the Difference?
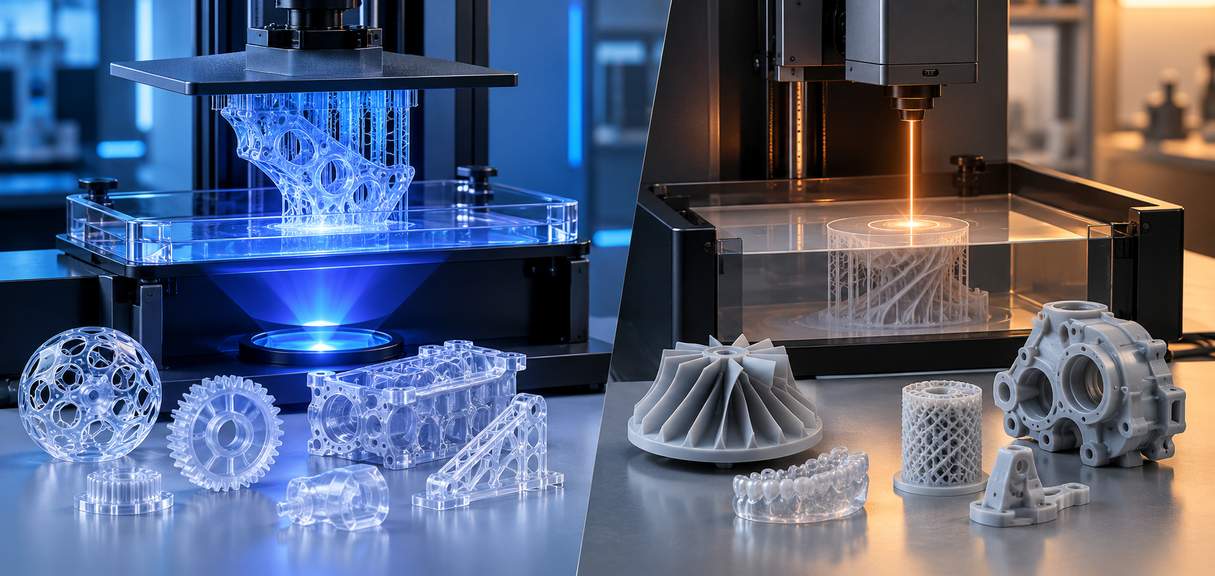
The core difference is how material is formed: FDM deposits melted thermoplastic filament through a nozzle, while SLA 3D printing uses a UV laser to cure liquid photopolymer resin into solid layers, which is why they differ in surface finish, material options, and cost.
|
FDM |
SLA |
|
|---|---|---|
|
Material |
Thermoplastic filament |
Liquid photopolymer resin |
|
Surface finish |
Visible layer lines |
Smooth, fine detail |
|
Strength |
Tough, functional |
Precise, often more brittle |
|
Cost |
Lower |
Higher |
In short, FDM suits durable parts, larger builds, and budget-conscious projects, while SLA suits detailed, smooth-surfaced models. For a deeper breakdown, see our FDM vs. SLA comparison.
FAQs
Does FDM 3D printing need support structures?
Only for certain geometry. Overhangs steeper than roughly 45° and unsupported bridges usually need supports. Orienting the part smartly or designing self-supporting angles can reduce or remove them, saving time and material.
How accurate is FDM 3D printing?
Typically within about ±0.2 to ±0.5 mm, depending on the machine, material shrinkage, and part geometry. Industrial systems can hold tighter tolerances. For critical features, add design allowances or plan light post-processing.
Get an Instant Quote for Your FDM Part
Ready to turn your design into a real part? Upload your file to get an instant quote with pricing across materials and quantities. Champ3D makes it easy to go from CAD file to finished part through our online 3D printing services.